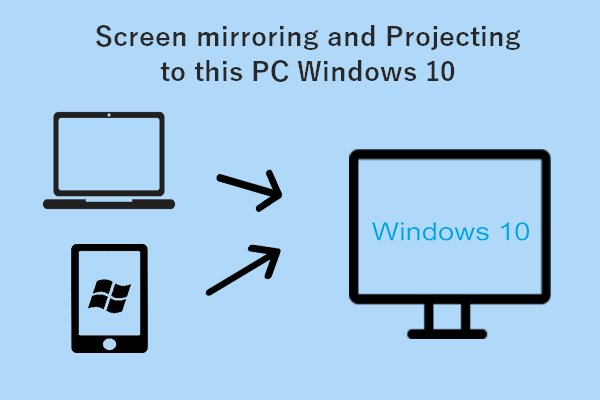
Screen mirroring and projecting to a PC or a wireless display allow you to share content from one device, such as a smartphone or another computer, to a larger screen or another device without the need for physical connections. This functionality is useful for presentations, gaming, watching videos, and more. In this guide, we’ll discuss how to mirror your screen or project to a PC or wireless display, what tools you can use, and troubleshooting common issues.
What is Screen Mirroring and Projecting?
- Screen Mirroring: This involves displaying the content of one device (source) on another screen (target), where everything on the source screen is shown exactly as it appears. This feature is often used with smartphones, tablets, or laptops.
- Projecting: This refers to casting content (like a movie or a presentation) from one device to another screen. It’s slightly different from mirroring because not all content may be mirrored, depending on the application.
Requirements for Screen Mirroring and Projecting
To mirror or project a screen, certain conditions must be met:
- Miracast Support: Many modern PCs and wireless displays support Miracast, a wireless display standard developed by the Wi-Fi Alliance. Both your source device (laptop, smartphone) and your target device (PC, TV, or projector) should support Miracast for this to work.
- Wi-Fi Network: Both devices should be connected to the same Wi-Fi network, especially if you’re using a streaming service or a similar app.
- Windows Version: On a Windows PC, you’ll need Windows 8.1 or later to use Miracast, though Windows 10 and Windows 11 offer better functionality.
How to Mirror or Project to a PC
If you want to use your PC as a target for screen mirroring, it needs to be set up to accept incoming connections from the source device.
Setting Up Your PC to Receive Mirrored Content
- Check for Miracast Support:
- Press
Windows + Rand typedxdiag, then press Enter. - In the DirectX Diagnostic Tool, click on Save All Information and open the saved text file.
- Search for Miracast. If it says “Available,” your device supports it.
- Press
- Enable the ‘Projecting to this PC’ Feature:
- Go to Settings > System > Projecting to this PC.
- Choose Available Everywhere or Available Everywhere on secure networks, depending on your preference.
- Optionally, you can choose to require permission to project and set a PIN for security.
- Connect the Source Device to Your PC:
- On the device you want to mirror, open Settings and navigate to the Display or Connections menu.
- Select the Connect to a wireless display option.
- You should see your PC listed as an available device. Select it, and your screen will begin to mirror to your PC.
Projecting from Your PC to Another Device
If you want to project from your PC to a wireless display (like a TV or projector):
- Open the Action Center: Press
Windows + Ato open the Action Center. - Click on “Connect”: In the Action Center, click on Connect.
- Select Your Wireless Display: Once the device list appears, select the wireless display or TV from the list. Your PC screen will start projecting to the selected device.
Using Wireless Display Apps
If your PC doesn’t support Miracast or you prefer a different solution, there are third-party apps like AirServer and ApowerMirror that allow you to wirelessly share your screen.
- AirServer: A paid application that transforms your PC into a Miracast, Google Cast, and AirPlay receiver. You can stream or mirror content from nearly any device.
- ApowerMirror: This app offers wireless screen mirroring across multiple platforms, including Windows, macOS, Android, and iOS.
Mirroring from a Smartphone to a PC or Wireless Display
On Android:
- Open Quick Settings: Swipe down from the top of the screen to open the Quick Settings menu.
- Select “Cast”: Tap the Cast button (it may also be called Screen Mirroring or Wireless Display, depending on the manufacturer).
- Choose Your PC or Display: Once the list of available devices appears, select your PC or the wireless display you want to mirror to.
On iOS:
For iOS devices, Miracast isn’t supported natively, but you can use AirPlay to project to compatible devices.
- Open Control Center: Swipe down from the upper-right corner (or swipe up on older devices) to access the Control Center.
- Select “Screen Mirroring”: Tap the Screen Mirroring icon.
- Choose Your PC: If your PC is running software like AirServer that supports AirPlay, it will appear in the list of available devices.
Troubleshooting Common Issues
- No Sound When Mirroring: Ensure that the volume on both the source and target devices is up, and the correct playback device is selected on the PC.
- Lag or Delay: This can happen due to a slow Wi-Fi connection. Try moving closer to your router or using a wired Ethernet connection if possible.
- Device Not Detected: Ensure that both devices are on the same Wi-Fi network and that Miracast or AirPlay is enabled on both.
Benefits of Screen Mirroring and Projecting
- Productivity: Easily share presentations, spreadsheets, and documents in meetings or with classmates.
- Entertainment: Watch movies, play games, or display photos from your phone or PC to a larger screen.
- Mobility: Wireless mirroring allows for more flexibility and mobility, without the need for cumbersome cables.
Conclusion
Screen mirroring and projecting to a PC or wireless display are useful features for both personal and professional use. With tools like Miracast, AirPlay, and various apps, you can easily share your screen wirelessly. By following the steps outlined above, you can quickly set up and troubleshoot connections, allowing you to take full advantage of this technology.


